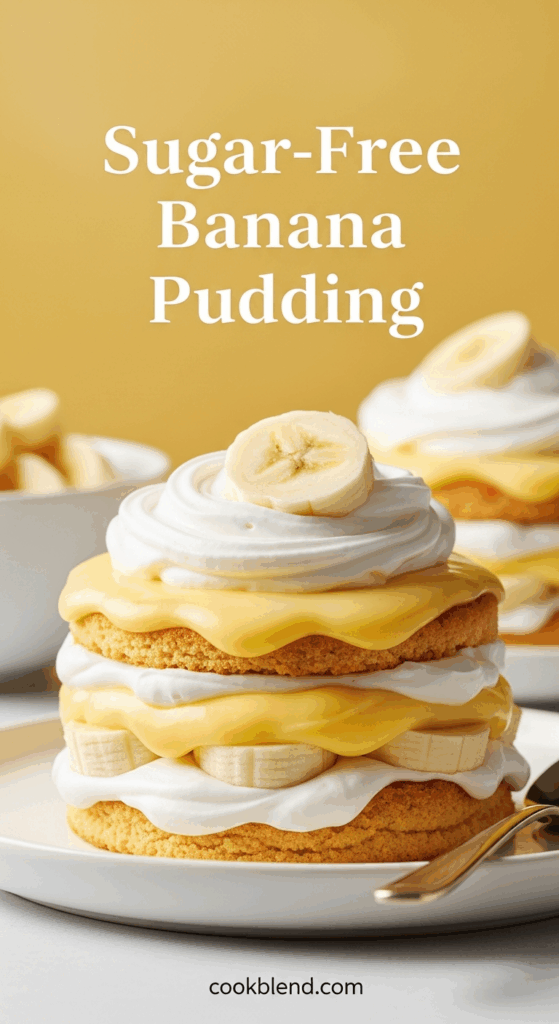
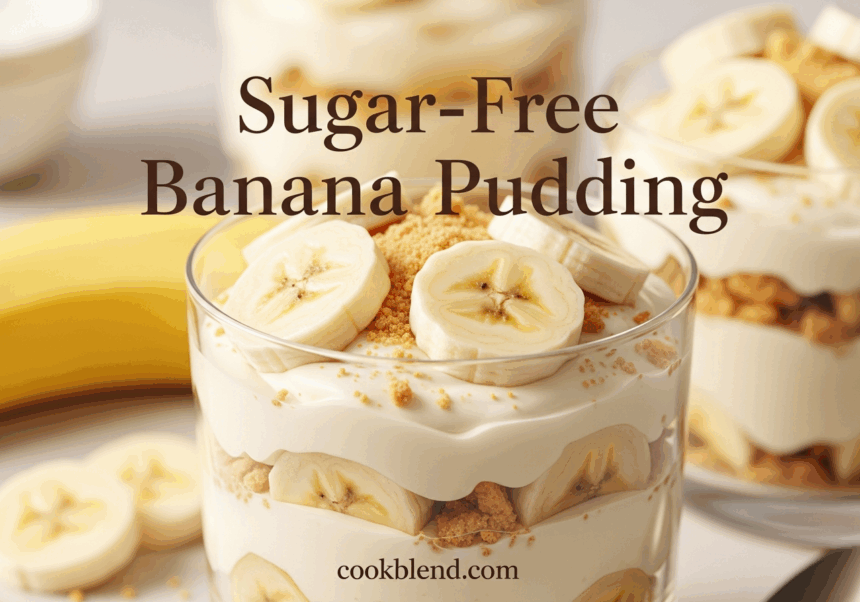
There’s something irresistibly nostalgic about a creamy, dreamy banana pudding-the kind that wraps you in comfort and sweet memories with every spoonful. But traditional recipes, laden with sugar, can leave health-conscious dessert lovers longing for a guilt-free alternative. enter the world of sugar-free banana pudding: where indulgence meets mindful eating, and flavor takes center stage without the added sweetness baggage. In this article, we’ll explore how to craft a luscious, naturally sweetened banana pudding that satisfies yoru dessert cravings while keeping things wholesome. Say goodbye to sugar guilt and hello to a delightful treat that’s as kind to your palate as it is to your well-being.
guilt-Free Delight starts with selecting the finest ingredients that naturally amplify the luscious creaminess of this sugar-free banana pudding. This luscious dessert delivers rich flavor and silky texture without relying on refined sugars, making it a perfect treat for those craving indulgence without the guilt.
Prep and Cook Time
preparation: 20 minutes | Chilling: 3 hours
Yield
Serves 6 generous portions
Difficulty Level
Easy to Medium – Ideal for home cooks who enjoy layering flavors while mastering natural sweeteners.
Ingredients
- 3 large ripe bananas, sliced thinly for perfect layering
- 2 cups whole milk or unsweetened almond milk for dairy-free option
- 1 cup heavy cream, cold and ready to whip
- 3 large egg yolks, room temperature
- 1/3 cup pure erythritol (or preferred natural sweetener like monk fruit)
- 1/4 cup cornstarch, sifted for smooth pudding
- 1 teaspoon pure vanilla extract
- Pinch of fine sea salt to balance sweetness
- Optional garnish: crushed toasted pecans, cinnamon, or shaved dark chocolate (70%+ cocoa)
Instructions
- Prepare the pudding base: In a medium saucepan, gently whisk together the erythritol, cornstarch, and salt. Slowly whisk in the milk until smooth and no lumps remain.
- Cook the pudding: Place the saucepan over medium heat, stirring constantly. When the mixture begins to thicken and bubble (about 5-7 minutes), reduce the heat to low.
- Temper the egg yolks: In a separate bowl, whisk the egg yolks. Gradually add about 1/2 cup of the hot pudding mixture into the yolks,whisking vigorously to avoid curdling.
- Combine and thicken: Pour the egg yolk mixture back into the saucepan. Continue stirring on low heat for 2-3 minutes until the pudding is thick and glossy. Remove from heat and stir in vanilla extract.
- Cool completely: Transfer pudding to a bowl, cover with plastic wrap pressed directly on the surface to prevent a skin from forming. Chill in the refrigerator for at least 2 hours.
- Whip the cream: Using a chilled bowl, whip the heavy cream until soft peaks form. Gently fold about 1/3 of the whipped cream into the cooled pudding to lighten it, then fold in the remaining cream, keeping the mixture airy and smooth.
- Assemble layers: In clear glass serving dishes or a trifle bowl,create layers starting with a dollop of creamy pudding,followed by a layer of thinly sliced bananas. Repeat until all components are used, finishing with a pudding layer on top.
- Chill further: Refrigerate the assembled pudding for at least 1 hour before serving to let the flavors meld beautifully.
Chef’s Notes
- For extra creaminess, substitute half the milk with full-fat coconut milk, adding a subtle tropical depth.
- If using monk fruit or stevia blends, adjust sweetness based on potency-start with less and add gradually.
- Use firm yet ripe bananas to prevent over-softening during chilling.
- Make a day ahead: Banana pudding benefits from resting overnight, deepening flavor and texture.
- To avoid brown spots on bananas, toss the slices briefly in fresh lemon juice before layering.
Serving Suggestions
Plate your pudding in individual glass cups or a large trifle bowl to showcase the inviting banana and pudding layers. garnish with toasted pecans or a light dusting of cinnamon for warmth. For a touch of elegance, sprinkle with shaved dark chocolate that complements the gentle sweetness perfectly.
This dessert pairs beautifully with a cup of freshly brewed coffee or a chamomile tea, creating a soothing contrast to the creamy decadence.

| Nutrient | Per Serving |
|---|---|
| Calories | 220 kcal |
| protein | 5 g |
| Carbohydrates | 18 g (Net carbs 12 g) |
| Fat | 14 g |
Ready to dive deeper into guilt-free dessert options? Check out our Healthy Dessert Recipes for more inspiring sweets that satisfy without sacrifice. For a scientific outlook on natural sweeteners, visit the British Nutrition Foundation.
Q&A
Q&A: Guilt-Free delight – How to Make Sugar-Free Banana pudding
Q1: What makes banana pudding a good candidate for a sugar-free makeover?
A1: Banana pudding is naturally sweet thanks to ripe bananas, which means you don’t need added sugar to enjoy that luscious, creamy sweetness. The fruit’s natural sugars provide a gentle, mellow flavor that pairs perfectly with custard and vanilla.This makes banana pudding an ideal dessert to transform into a guilt-free treat without compromising taste.
Q2: How can I make banana pudding sugar-free without losing its signature creaminess?
A2: The secret lies in using wholesome, natural sweeteners like ripe bananas and, if needed, a touch of sugar alternatives such as erythritol or monk fruit sweetener. Incorporate full-fat dairy or coconut milk to maintain a rich texture, and thicken your custard with eggs or cornstarch. This combo gives you the silky, indulgent mouthfeel of traditional banana pudding-minus the sugar crash.
Q3: Are there any tips for selecting the perfect bananas for sugar-free pudding?
A3: Absolutely! Choose bananas that are ripe or even slightly overripe with golden spots-they’re sweeter and softer, which blends beautifully into your pudding. This sweetness reduces the need for extra sweeteners and adds natural moisture, helping your dessert stay creamy and flavorful.
Q4: Can I make this sugar-free banana pudding suitable for special diets?
A4: Definitely! By swapping out traditional dairy for almond, oat, or coconut milk, you can make it vegan and lactose-free. Using sugar substitutes keeps it diabetic-pleasant, and opting for gluten-free vanilla wafers or homemade almond flour cookies as layers ensures the whole dish suits gluten-sensitive guests. This dessert flexes beautifully to fit many dietary needs.
Q5: What’s the best way to layer a sugar-free banana pudding to keep it visually appealing?
A5: For a picture-perfect presentation, alternate layers of smooth custard, sliced bananas, and crunchy sugar-free cookies or nuts. The contrast between creamy, fruity, and crunchy textures makes each bite delightful.Top it off with whipped cream or coconut cream, and a sprinkle of cinnamon or cocoa powder for that extra wow factor.
Q6: How long can I store sugar-free banana pudding, and does refrigeration affect its taste or texture?
A6: Store your banana pudding in an airtight container in the fridge for up to 3 days. The flavors actually deepen overnight, making it taste even better the next day. However,bananas may brown slightly; a squeeze of lemon juice on banana slices before layering can slow this process. Just give it a gentle stir before serving to refresh the texture.
Q7: Any creative twists to elevate traditional sugar-free banana pudding?
A7: Yes! Try adding a hint of espresso powder to the custard for a mocha flair, or fold in chopped nuts like pecans for crunchy bursts. For a tropical twist, sprinkle toasted coconut flakes between layers. You can also experiment with spices like cardamom or cinnamon to bring warmth and complexity. These little upgrades make your guilt-free pudding an unforgettable dessert experience.
With these insights, you can confidently whip up a luscious, sugar-free banana pudding that’s both indulgent and wholesome-a truly guilt-free delight!
Final Thoughts
As you savor each creamy, naturally sweet spoonful of this sugar-free banana pudding, remember that indulgence doesn’t have to come with a side of guilt. By embracing wholesome ingredients and a little kitchen creativity, you’ve crafted a dessert that delights the senses while nourishing your body. Whether served as a comforting treat after a long day or a refreshing finale at your next gathering, this guilt-free delight proves that healthy and delicious truly can go hand in hand. So go ahead-enjoy every bite, knowing that your sweet tooth and well-being are both smiling back at you.